Recently viewed
Copyright stamp will not be printed on the final product.
*Automatic size adjustments are a rough guide and are not a true representation of size.
Please make sure to measure your required print before confirming a purchase.


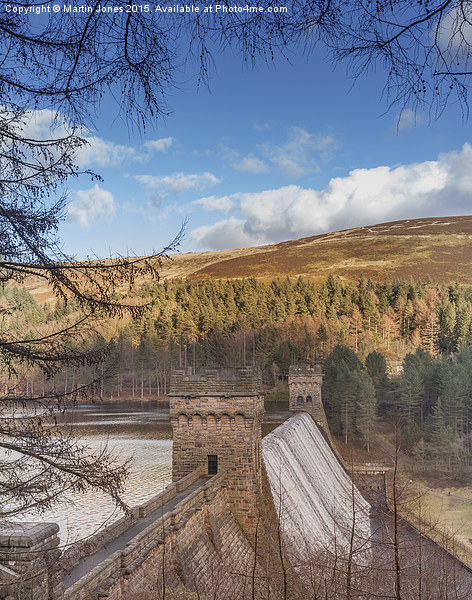
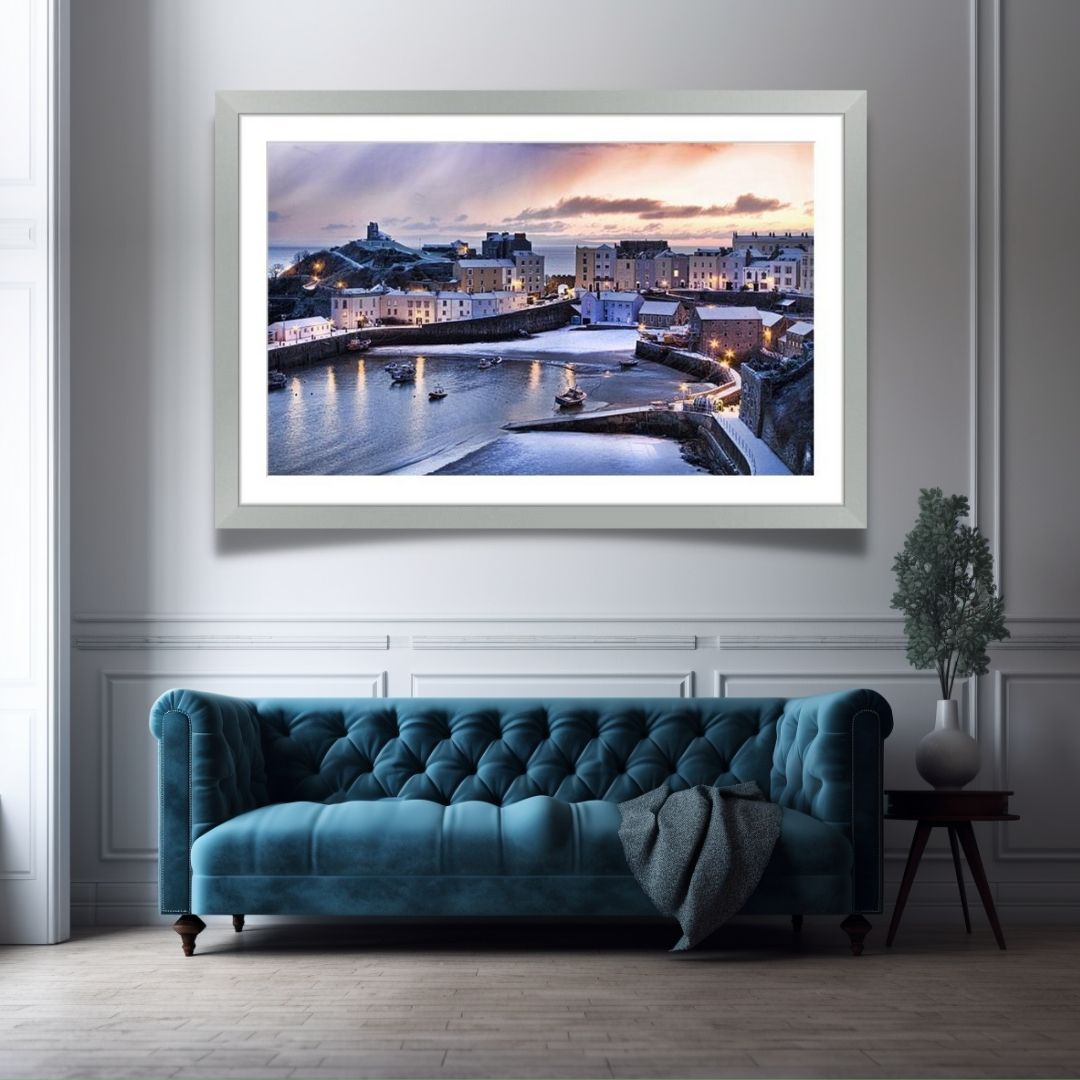
Wall Across the Valley canvas
canvas
Picture Id: #455101
The neo-Gothic solid masonry Derwent dam was begun in 1902, a year after Howden was started, and proved a mammoth task. The huge stones that formed the walls of the dam were carried along a specially created railway from the quarries at Grindleford. Over 1,000 workers lived in a specially constructed self-contained town called Birchinlee.
£72.25 Sale Price
£85 normal price (SAVING SAVING APPLIED)
Payment plans
Choose your style
-
Framed Mounted PrintHigh-grade prints mounted with a choice of frame
-
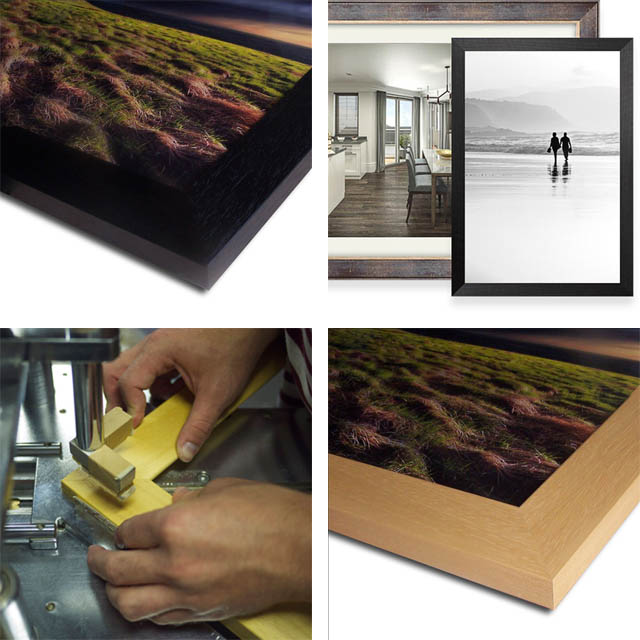
Framed PrintHigh-grade prints with a choice of frame
-
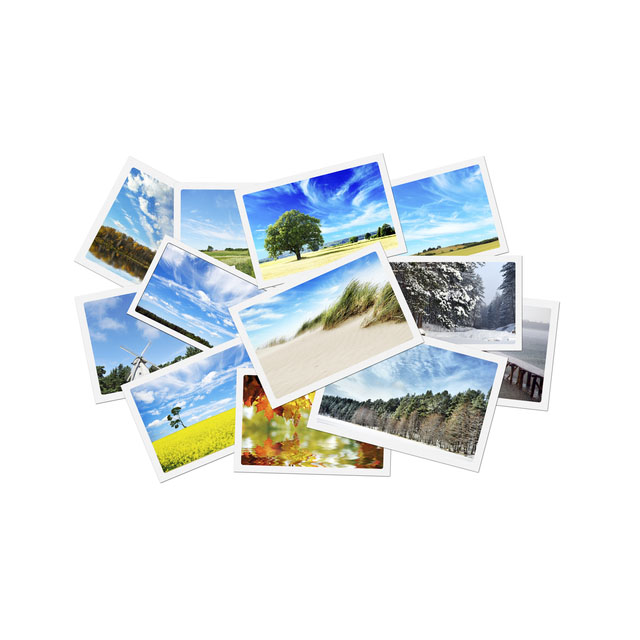
PrintProfessional high-grade gloss or matt paper
-
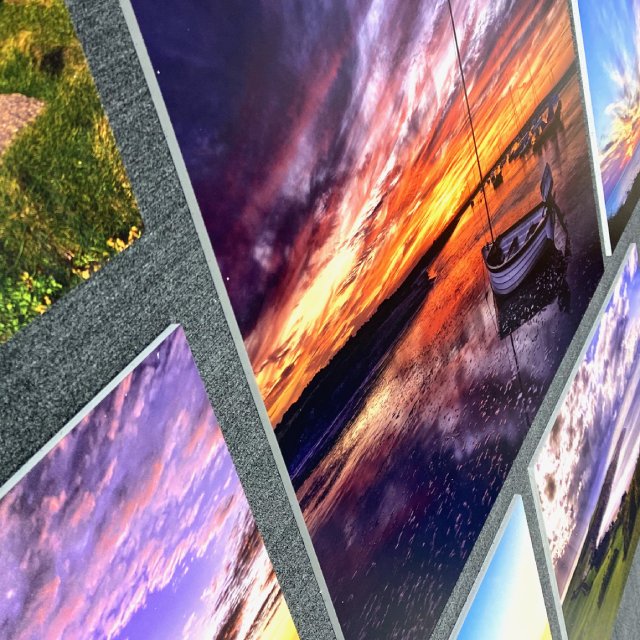
CanvasElegantly wrapped canvas around a wooden frame
-
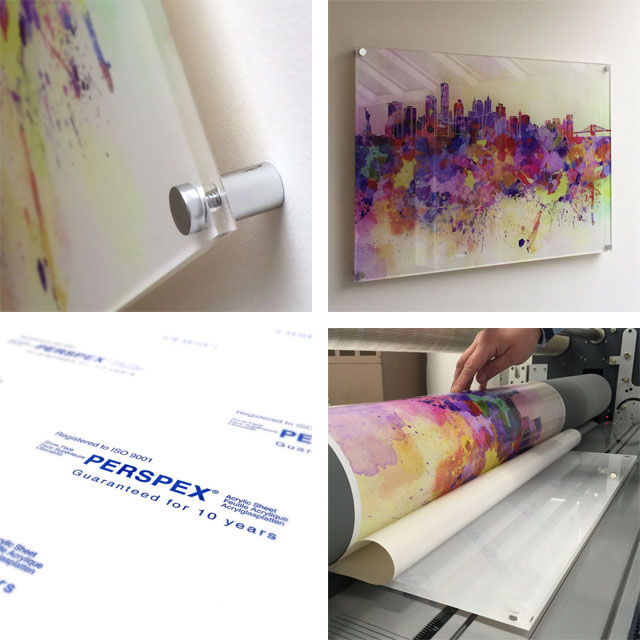
AcrylicPrecision printed onto crystal-clear Acrylic/Perspex
-
Metal Print
Cloned on Sides – We take 38mm from the edges of the face of the canvas and we duplicate it on the side of the canvas. Most popular and default option.
Wrapped on sides – Image runs continuous around the sides of canvas.
Black on Sides – Side of the canvas will have a black contour.
White on Sides – Side of the canvas will have a white contour.
Black Frame – Black brushed finish.
Oak Frame – Natural wood, smooth woodgrain finish (Oak coloured).
Teak Frame – Teak “antique” smooth woodgrain finish.
White Frame – White brushed finish.
Grey Frame – Grey woodgrain finish.
Silver Frame – Silver brushed finish.
Gold Frame – Gold brushed finish.
Black Frame – Black brushed finish.
Oak Frame – Natural wood, smooth woodgrain finish (Oak coloured).
Teak Frame – Teak “antique” smooth woodgrain finish.
White Frame – White brushed finish.
Grey Frame – Grey woodgrain finish.
Silver Frame – Silver brushed finish.
Gold Frame – Gold brushed finish.
White layer – Image stays true to picture purchased, recommended.
Clear white’s are not printed – Any area or pixels in image which are “white” will not be printed.
Gloss - Shiny gloss print. Recommended for coloured/vibrant images.
Matt – Non reflective paper. Better for rooms with a lot of light or black and white images.
Matt finish as standard.
Standard Canvas – Image is printed on canvas material.
Standard Fitting – Order is professionally put together with tape holding picture in place.
Dry Mount Fitting – Picture is printed on the mount board to prevent image from “rippling” overtime due to changes in temperature and moisture.
Standard Fitting – Order is professionally put together with tape holding picture in place.
Dry Mount Fitting – Picture is printed on the mount board to prevent image from “rippling” overtime due to changes in temperature and moisture.
Aluminum – Polished aluminum wall mounts.
Black Anodized – Black wall mounts – works well for dark and night images.
No hanging system - without M3 command strips.
M3 Command Strips - for easy hanging of your picture board.


Pick your size
Finishing touches
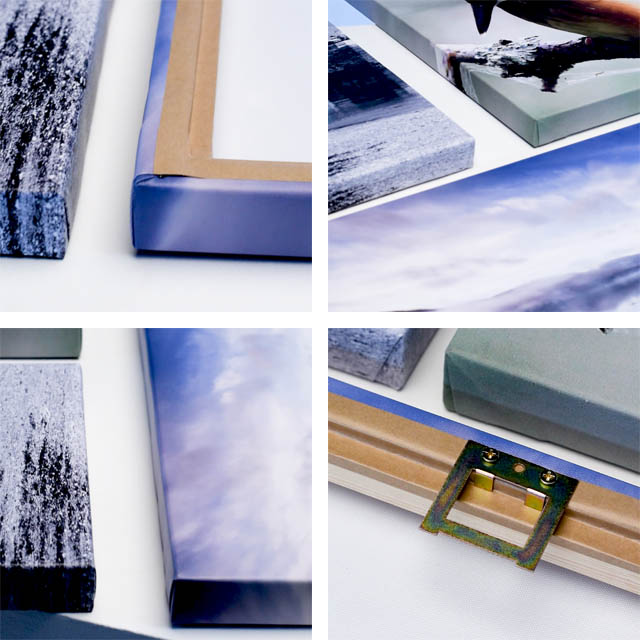
Canvas edge type
Delivery
SHIPPING WORLDWIDE
- Prices listed include VAT for UK shipping only. VAT will be removed at checkout.
- Shipping costs will be added at checkout and will vary depending on your country.
- Import duties may apply. Import duties are calculated on the value of the artwork. Please check with your local authorities for more information. Prices do not include import duties
Personalise your wall art
Make your art more special with our personalisation service.

EXAMPLES OF PERSONALISATION
- Have your picture cropped slightly so it matches other frame sizes
- Have your picture toned E.g. Changed to Black & White or Sepia
- Captions: E.g. "Happy Retirement - All the best John & the Team"
- Captions can be overlaid on the picture
- Captions can be inserted beneath the picture
- NOTE: Personalisation is only available on framed & framed mounted prints
Speak to our personalisation team
CALL 01622370505Wall Across the Valley canvas
The neo-Gothic solid masonry Derwent dam was begun in 1902, a year after Howden was started, and proved a mammoth task. The huge stones that formed the walls of the dam were carried along a specially created railway from the quarries at Grindleford. Over 1,000 workers lived in a specially constructed self-contained town called Birchinlee.
UVgel printer
We print using Canon UVgel print technology.
260 GSM 100% polyester canvas
Much stronger and longer lasting than paper or plastic material.
38mm (1.5 inch)
Pinewood frame
ready to hang
Your canvas wall art comes with metal hangers attached, ready to hang.
seamless finish
Stretched and securely stapled to the wooden frame, it will then be taped to create a clean and seamless finish allowing the canvas to rest perfectly on the wall.
Similar Pictures
See more
Derwent Dam, Derbyshire Wall Art in Colour
By Mark Chesters
Derwent Reservoir at autumn Wall Art in Colour
By Jason Wells
Derwent Reservoir Through The Wall Wall Art in Colour
By Jonathan Swetnam
Derwent reservoir from Derwent Edge Wall Art in Colour
By Jonathan Swetnam
Derwent Reservoir 2 Wall Art in Colour
By Northeast Images
Derwent Water Wall Art in Colour
By Andrew Roland
Derwent Panorma Wall Art in Colour
By Jonathan Swetnam
Derwent Water Jetty Wall Art in Colour
By Julian Mitchell
Derwent Water Jetty Wall Art in Colour
By Julian Mitchell
Derwent Water Jetty Wall Art in Colour
By Julian Mitchell
Majestic Derwent Edge Wall Art in Colour
By Stephen Hollin
Derwent Water Jetty Wall Art in Colour
By Julian Mitchell
Ladybower Dam Wall Wall Art in Colour
By Mark Chesters
Derwent Water in Black & White Wall Art in Black and White
By Julian Mitchell
Derwent Edge Wall Art in Colour
By Jonathan Swetnam
Derwent Water Wall Art in Colour
By Andrew Roland
Derwent Reservoir Wall Art in Colour
By Mark Chesters
Ladybower reservoir from Derwent Edge Panoram Wall Art in Colour
By Jonathan Swetnam
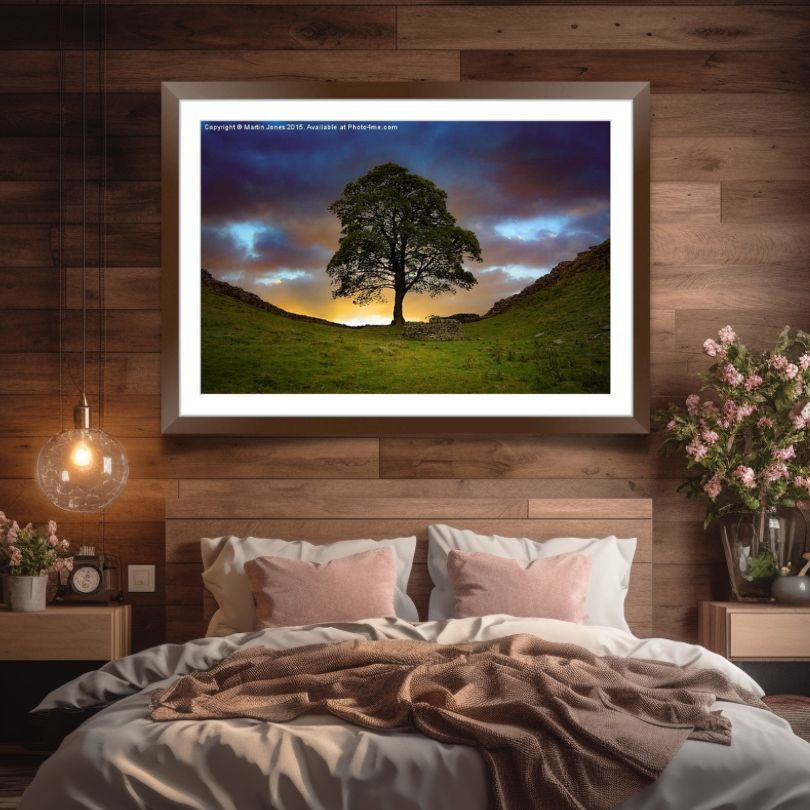
Sycamore Gap Tree Wall Art in Colour
By K7 Photography
Radiant Vegas Nightscape Wall Art in Colour
By K7 Photography
A Sinful View Wall Art in Colour
By K7 Photography
Twilight Splendor in Vilnius Wall Art in Colour
By K7 Photography
Majestic Sunset over Riga's Daugava River Wall Art in Colour
By K7 Photography
Majestic Riga Sunset Over Daugava River Wall Art in Colour
By K7 Photography
Enchanting Riga Nightscape Wall Art in Colour
By K7 Photography
Bristol's Iconic Harbour Skyline Wall Art in Colour
By K7 Photography
Glittering Bristol Harbour at Night Wall Art in Colour
By K7 Photography
The Clifton Suspension Bridge Wall Art in Black and White
By K7 Photography
The Clifton Suspension Bridge Wall Art in Isolations
By K7 Photography
The Clifton Suspension Bridge Wall Art in Black and White
By K7 Photography

Our Trustpilot reviews

We are so confident in our products and service, we offer a 30 day 100% refund policy
Terms and conditions applyWhy shop with us?
- Beautiful wall art from our passionate and active community of photographers and digital artists.
-
Unrivalled product quality.
Read about our products -
Fast friendly and efficient service.
Read our customer feedback - Buy with confidence with our secure server and payment provider Paypal.
About us
At Photo4me we have created a huge Gallery of high quality photographs created by photographers from all over the world.
We believe that in our collection there’s a picture you would love to have as Wall Art in your home – and we’ve developed a highly sophisticated search tool to help you find it.
For 18 years we have been supplying